
How to seam with slip stitch
This is the method I use to seam the back-loop single-crochet ribbed brims in my beanie patterns, but it can be used anywhere you're joining a beginning row to the final row.
From left to right:
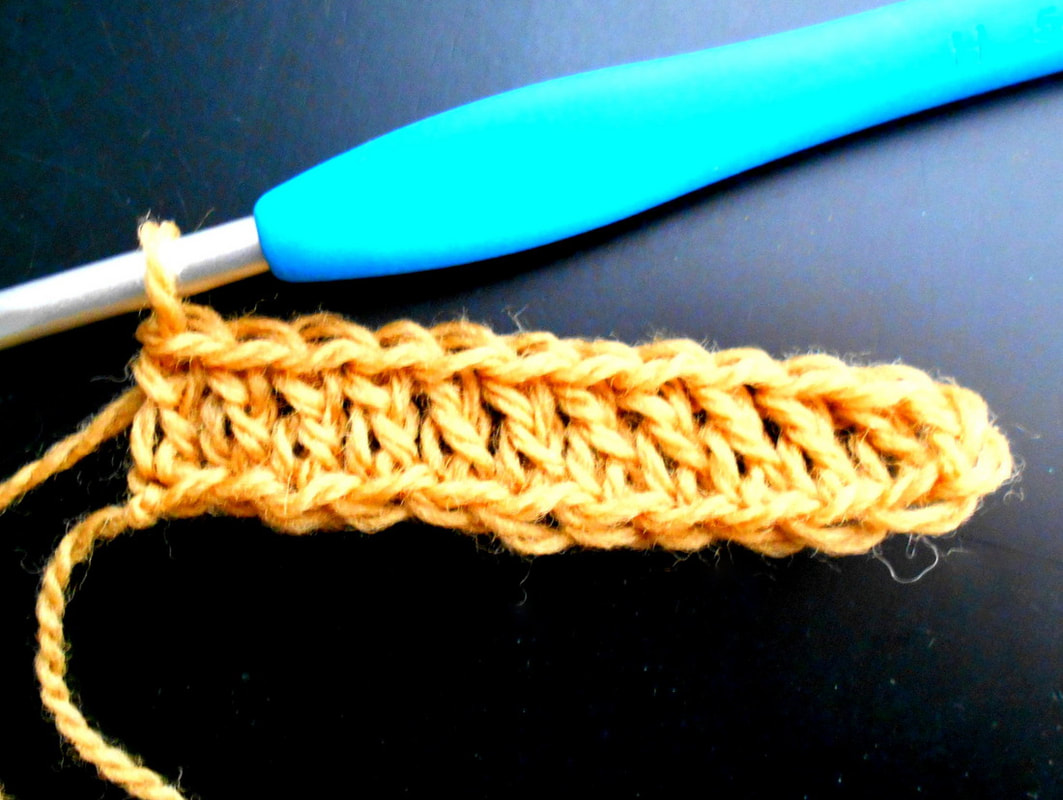
1. To make the joining easier, work your first row of stitches in the back bump of your beginning chain.
2. Notice how working in the back bump leaves two loops in chain formation that look almost identical to the top loops just worked.
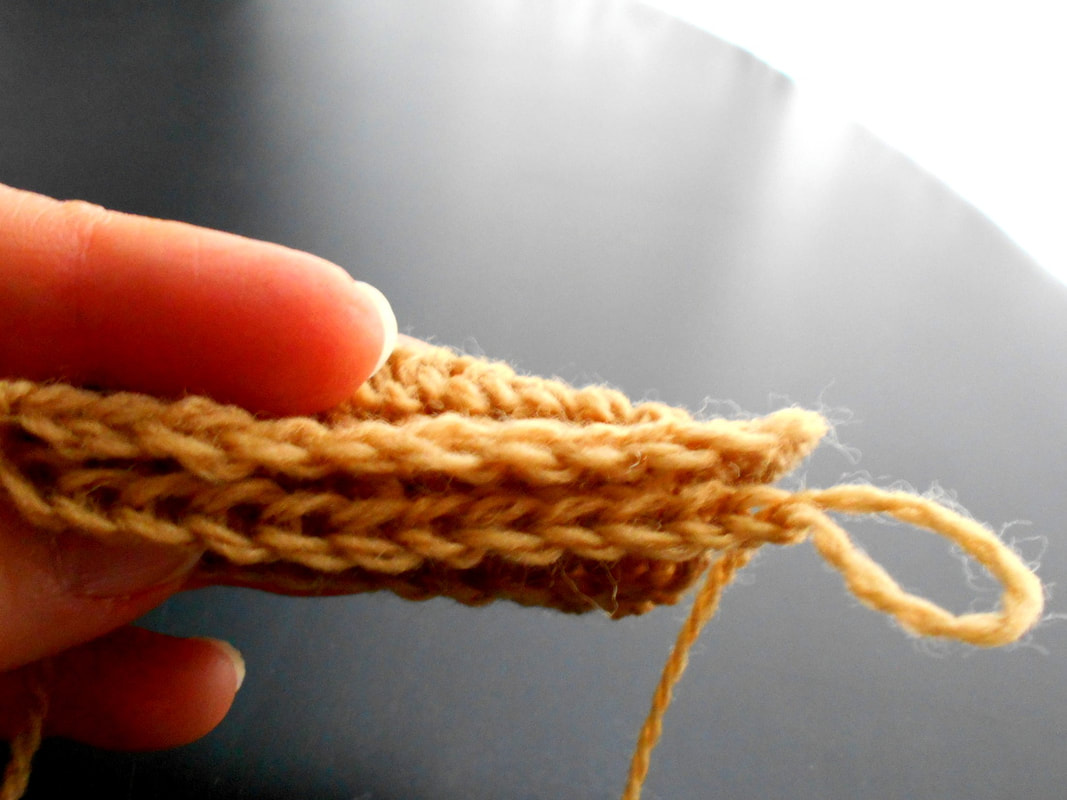
3. Begin your seam by aligning the stitches in your beginning row with the last row. I like to count them -- starting at the left side -- to make sure that I have the stitches lined up exactly.
1. To make the joining easier, work your first row of stitches in the back bump of your beginning chain.
2. Notice how working in the back bump leaves two loops in chain formation that look almost identical to the top loops just worked.
3. Begin your seam by aligning the stitches in your beginning row with the last row. I like to count them -- starting at the left side -- to make sure that I have the stitches lined up exactly.
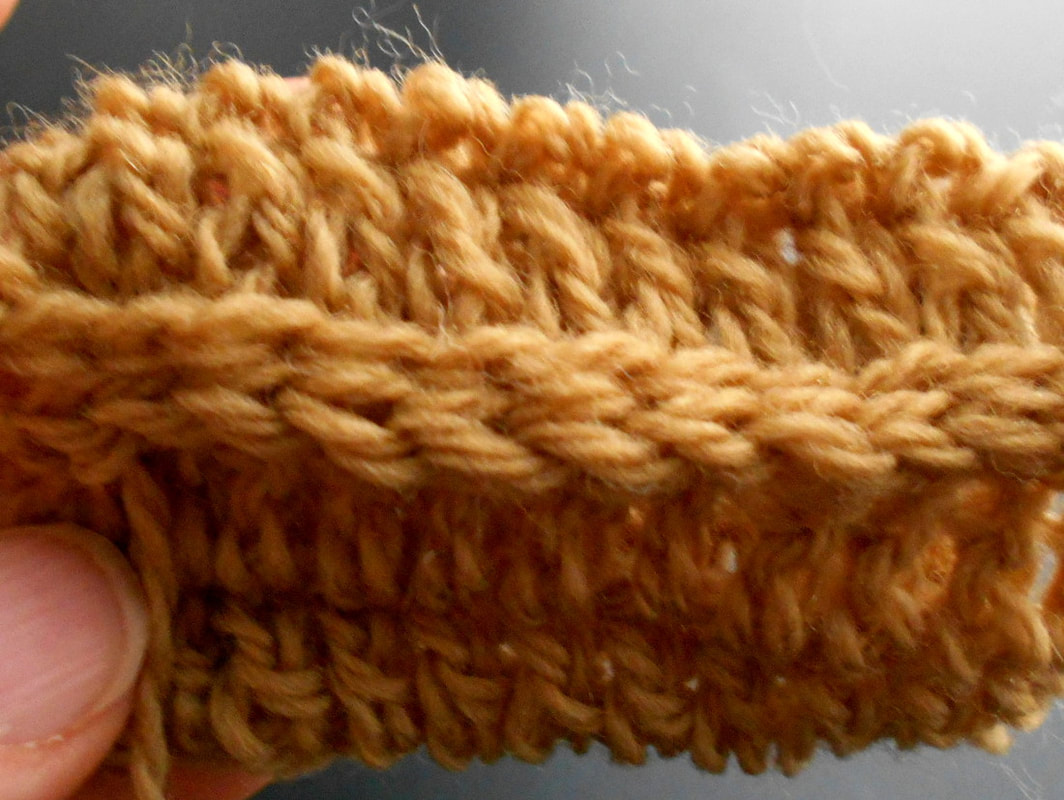
From left to right:
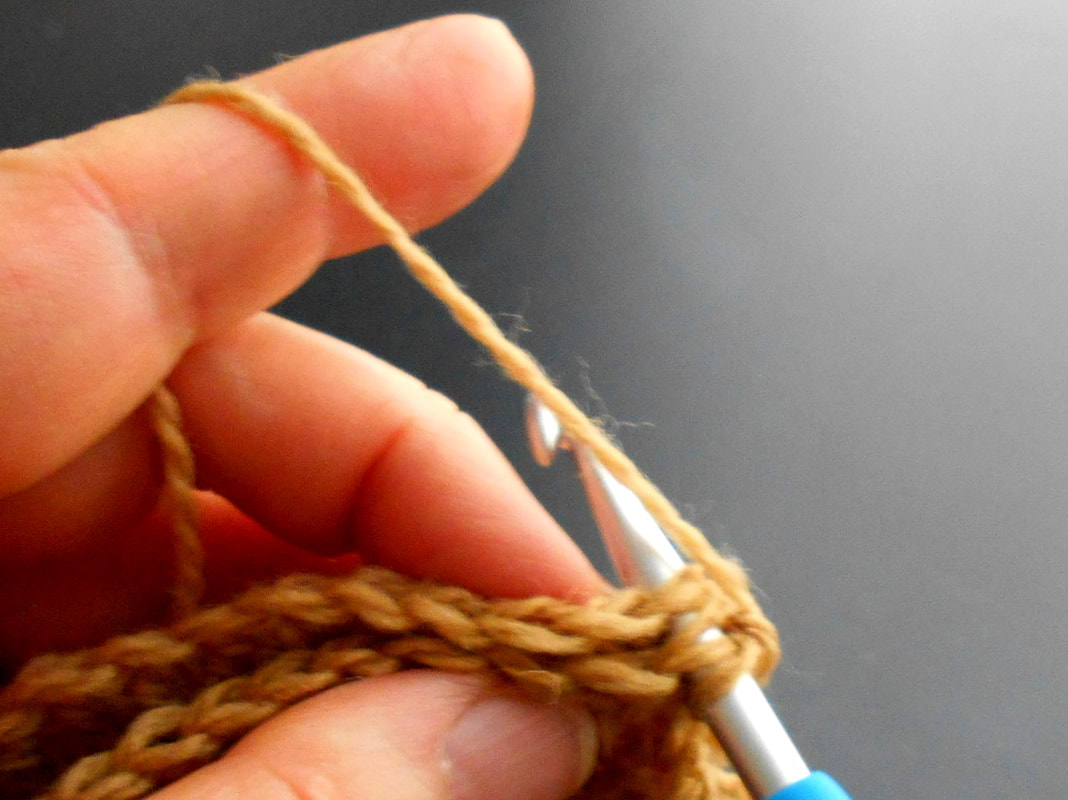
4. Insert hook, going through both loops of first row and both loops of last row.
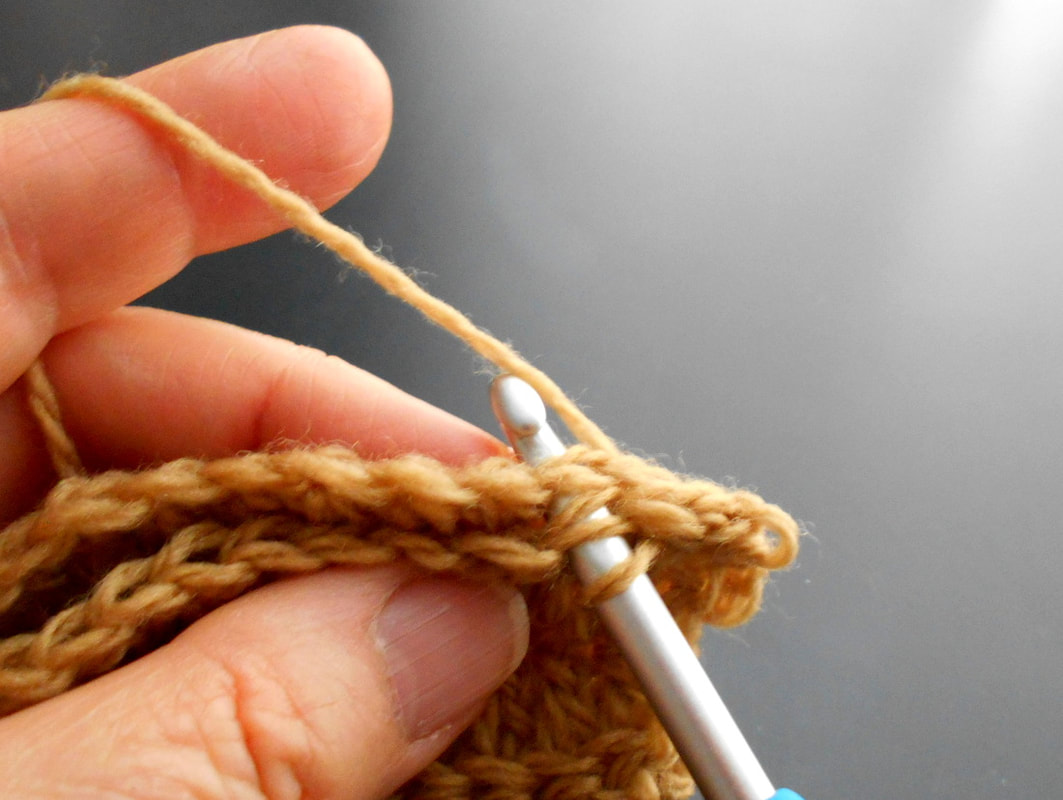
5. Continue to slip stitch the edges together along the seam.
6. The finished joined seam.
4. Insert hook, going through both loops of first row and both loops of last row.
5. Continue to slip stitch the edges together along the seam.
6. The finished joined seam.